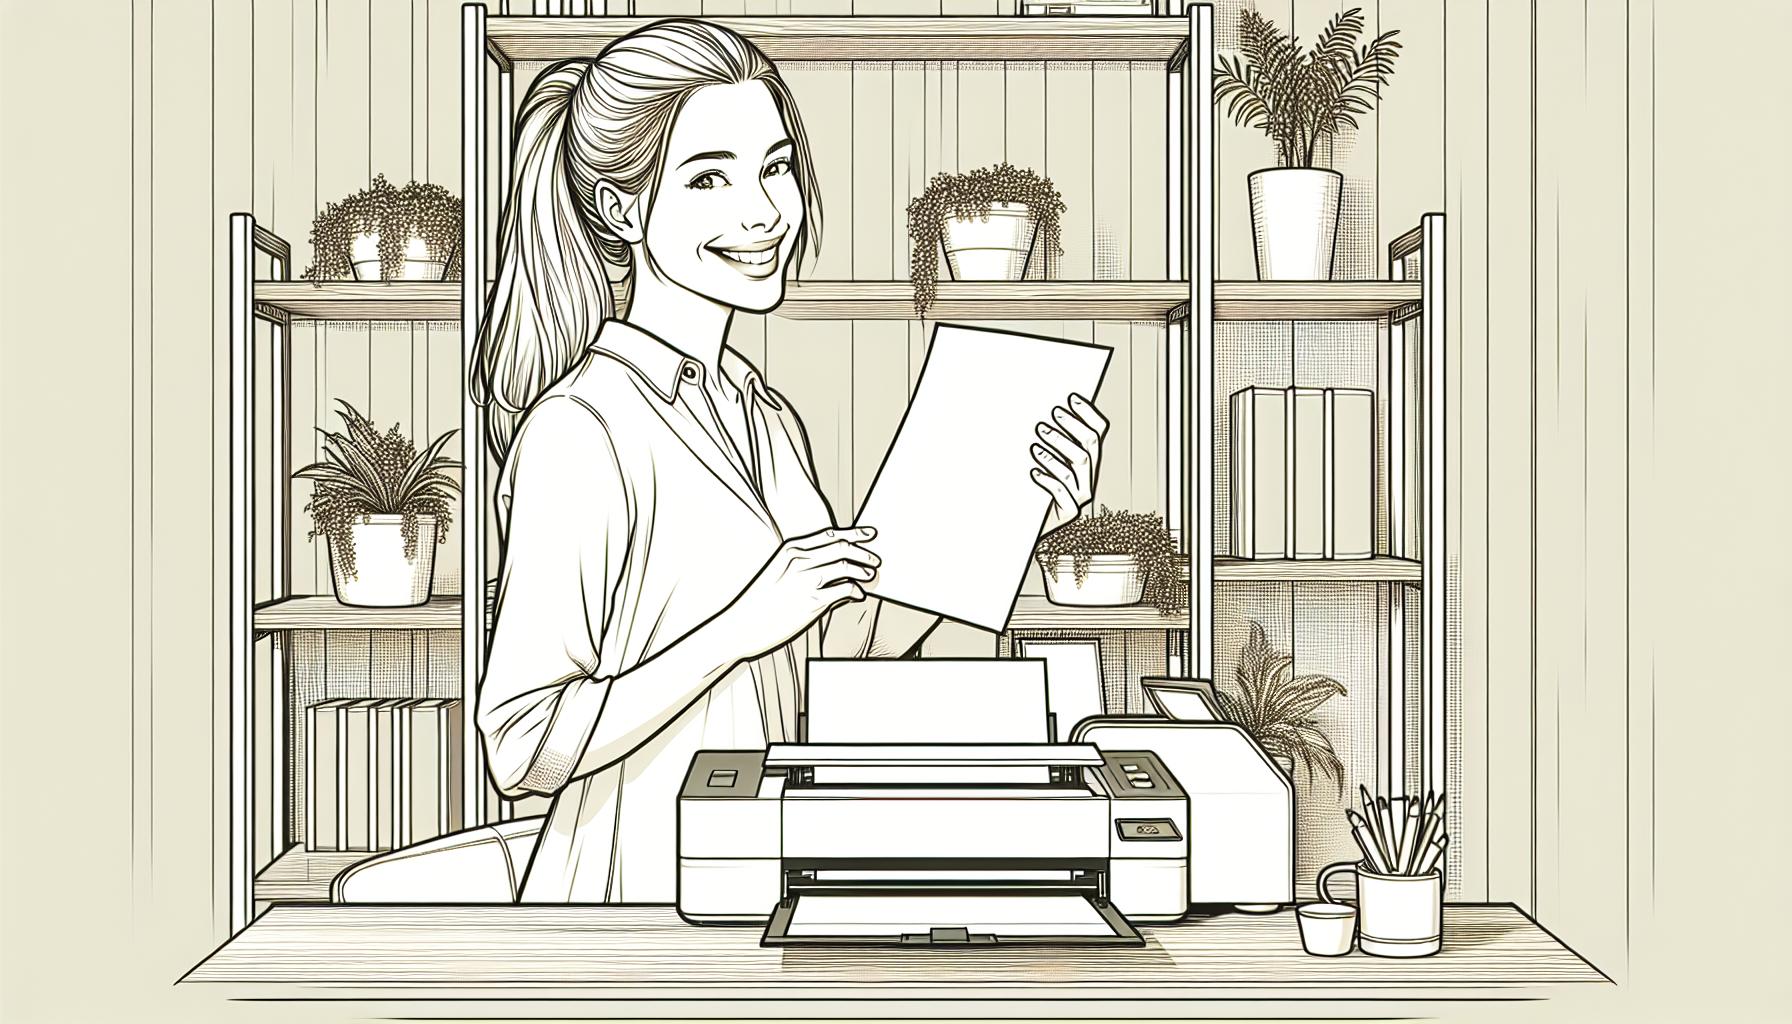
Scanning a paper to email might seem like a daunting task, but it’s simpler than you think. Whether it’s an important document, a signed contract, or personal paperwork, digitizing and sending it via email saves time and ensures secure delivery. With just a few steps, anyone can turn physical pages into digital files ready to share.
From using a traditional scanner to leveraging smartphone apps, there are multiple ways to accomplish this task. Each method offers its own advantages, depending on the tools available and the level of detail required. Understanding the process not only boosts productivity but also reduces the clutter of physical documents.
Understanding The Basics Of Scanning
Scanning a document involves converting physical papers into digital files for storage or sharing. It’s a straightforward process requiring basic tools and methods.
What You Need To Get Started
Access to either a traditional scanner or a multi-function printer simplifies the scanning task. Some modern smartphones also offer scanning capabilities through dedicated apps.
A computer or mobile device acts as a storage location and helps send the scanned files via email. Essential software, like installed scanner drivers or scanning apps, may be necessary for successful operation.
How Scanners Work
Scanners use a combination of light and sensors to capture document details. They pass light across a page and convert the image into electronic data.
Flatbed scanners are common for home and office use, where the document remains stationary. Multi-function printers combine printing and scanning functions, often featuring an Automatic Document Feeder (ADF) for larger sets of pages. Mobile scanning apps rely on a device’s camera to create a digital file.
Preparing Your Document For Scanning
Organizing your document properly is essential for achieving clear, professional scans. Prepare the paper to ensure readable and accurate results.
Ensuring A Clean Document
Remove any staples, paper clips, or similar objects from the paper. These can damage the scanner and affect the quality of the scanned image. Flatten creased or folded pages to avoid shadows in the scan. For old or fragile documents, handle them carefully to prevent tears during feeding or placement.
Wipe off dirt or smudges on the paper with a clean, dry cloth if needed. Smudges, lint, or dust often disrupt the scan’s clarity. Ink that’s still wet can smear and compromise the output, so ensure it dries completely before scanning.
Choosing The Correct Settings
Select the resolution, file format, and color settings based on the document type. For standard text documents, use a resolution of 300 DPI (dots per inch), which balances quality and file size. For photographs or detailed designs, a higher resolution like 600 DPI may give better results.
Choose PDF for text-heavy documents or multi-page scans and JPEG for single images. Use color, grayscale, or black-and-white settings according to the document’s content. For forms or contracts, black-and-white maintains simplicity; for images, color or grayscale preserves details.
Steps To Scan A Paper To Email
Scanning a paper to email involves a few straightforward steps. These include scanning the document, saving the digital file, and attaching it to an email.
Scanning The Document
Place the paper on the scanner bed or into the Automatic Document Feeder (ADF) if using a multi-function printer. Ensure the document aligns with the guides for proper scanning. Open the scanner software or app on your device and choose the scan option. If using a smartphone, use a scanning app like Adobe Scan or Microsoft Lens, which can scan using the device’s camera. Adjust the resolution settings if needed, typically 300 DPI for text documents. Press the scan button and wait for the process to complete.
Saving The Digital File
After scanning, choose a file format such as PDF for multi-page documents or JPEG for single images. Save the file to an accessible location, such as your desktop or a specific folder. On a smartphone, save the digital file within the scanning app or export it to cloud storage for easy access.
Attaching The File To Your Email
Open your email client and create a new email. Use the attach file option, usually indicated by a paperclip icon, to locate the saved file. Click on the digital file to attach it. Ensure the email has the recipient’s address, a subject line, and any necessary message before sending. Double-check the attachment to confirm it’s added correctly.
Tips For Better Scanning Results
Achieving clear and professional scans involves using the correct settings and managing file sizes efficiently. Following consistent practices ensures better results.
Adjusting Resolution And File Format
Selecting an appropriate resolution improves scan clarity. For standard text documents, 300 DPI provides sharp results without creating overly large files. For detailed images or photographs, 600 DPI might be more suitable but increases file size.
Choosing the right file format matters. Use PDF for multi-page documents or text-heavy files as they preserve formatting effectively. JPEG is better for single images due to its compatibility and quality retention. TIFF can be considered for archiving high-quality images, though its larger size may not be ideal for sharing.
Keeping File Size Manageable
Reducing file size prevents slow uploads and email issues. For text documents, black-and-white or grayscale settings can decrease file size without sacrificing quality. Compress images during saving if the scanning software supports it.
Small page scans can stay under 25 MB, a common email attachment limit. Splitting large files into separate parts ensures successful sharing. Always verify file size after saving before attaching it to an email.
Common Issues And Troubleshooting
Scanning paper to email can sometimes present technical problems. Addressing these issues quickly ensures a smoother process.
Scanner Not Connecting
A scanner may fail to connect due to hardware or software problems. Check if both the scanner and computer are powered on. Ensure the cable is securely plugged in, or verify that the device is connected to the same Wi-Fi network if wireless.
Update the scanner’s drivers by downloading the latest version from the manufacturer’s website. Restart both devices after installation. For wireless scanners, confirm that the network signal is stable. If issues persist, resetting the scanner settings may help.
File Won’t Attach To Email
Large file sizes often prevent email attachments. Ensure that the file size stays below the 25 MB limit most email providers enforce. Compress the file or split it into smaller parts if it exceeds the limit.
Verify the file format. Common formats like PDF or JPEG work with most email platforms. Rename the file to remove special characters that could cause issues. If attachment errors continue, try a different browser or email app for sending.
Conclusion
Mastering the process of scanning a paper to email is a valuable skill that simplifies document management and enhances productivity. With the right tools and techniques, anyone can create clear, professional digital copies of physical documents and share them effortlessly. Whether using a traditional scanner or a smartphone app, the process is straightforward and adaptable to various needs. By understanding key settings and troubleshooting common issues, users can ensure a seamless experience every time.
Frequently Asked Questions
What are the benefits of scanning paper documents to email?
Scanning paper documents to email saves time, reduces physical clutter, and ensures secure delivery. It also allows you to easily store, organize, and share digital copies, making document management more efficient.
What tools can I use to scan documents?
You can use traditional flatbed scanners, multi-function printers with Automatic Document Feeders (ADF), or modern smartphones with dedicated scanning apps like Adobe Scan or CamScanner.
What resolution should I use for scanning documents?
For standard text documents, use 300 DPI. For detailed images, such as photographs, 600 DPI or higher is recommended to ensure quality.
What file format should I choose for scanned documents?
Use PDF for multi-page text documents, JPEG for single images, and TIFF for high-quality archiving. Select the format based on your document type and purpose.
How do I prepare a document for scanning?
Remove staples and paper clips, flatten creases, and clean dirt or smudges from the paper. Proper preparation ensures a clear, professional-quality scan.
How do I scan and send a document to email?
Scan the document using a scanner or app, save it in an appropriate file format (e.g., PDF), and attach it to an email. Ensure the file size is under 25 MB before sending.
How can I manage large file sizes for email attachments?
Compress files, use black-and-white or grayscale settings for text, or split multi-page documents into smaller parts to keep the file size manageable (under 25 MB).
What should I do if my scanner isn’t working?
Check the scanner’s connection, update drivers, ensure the device is powered on, and verify Wi-Fi settings if using a wireless scanner. Restart both the scanner and your computer if needed.
Why does my email reject the scanned file?
Email systems often reject large files or incompatible formats. Compress or resize the file, ensure it’s under 25 MB, and confirm the format (e.g., PDF or JPEG) suits the email platform.
Can a smartphone replace a traditional scanner?
Yes, modern smartphones equipped with scanning apps like Microsoft Lens or Google Drive can produce high-quality scans. However, traditional scanners may still be preferred for high-volume or specialty scanning needs.
Leave a Reply